The Kindle, Amazon’s first e-reader, has launched several updated versions since its initial launch in late 2007.
They all, however, work in essentially the same manner. That is — hook the Kindle up to a computer, tablet, or other device and read books digitally.
Table of Contents
How to Eject Kindle from Computer?
To eject a Kindle from a computer click “Safely Remove Hardware” from the taskbar. If it isn’t there, click the “Show hidden icons.” Click to “Safely remove hardware.”. Choose the Kindle device. Wait for a message saying it’s safe to eject the Kindle.

If unsure which icon is which, hover the cursor over each one to identify it.
If the “Safely Remove Hardware” button is not present, or if there are other issues, I can help.
Read on to find out how to eject the Kindle from a computer one step at a time.
Eject a Kindle from a Computer – Step By Step
Step 1: Click “Safely Remove Hardware” to Eject Kindle
When reading time is done, it’s time to eject the Kindle from the computer.
However, not everyone is a computer geek and knows how to do even these simple things on a computer.
First, go to the taskbar. For the beginner, the taskbar is the long strip that runs horizontally along the bottom of the screen (it houses the [Windows Start] button).
On the taskbar, there should be the “Safely Remove Hardware” icon. It looks like a flash drive.

Click on it, and a message saying it’s safe to remove the hardware should pop up.
If you don’t see the icon, continue to Step 2.
Step 2: Click “Show Hidden Icons” to Eject Kindle
Sometimes, the “Safely Remove Hardware” icon isn’t on the taskbar due to the settings on the computer.
When it can’t be found on the taskbar, it has to be located in other ways.
Here is the next step in troubleshooting how to eject the Kindle from the computer.
If you can’t find the “Safely Remove Hardware” icon, click on the “Show Hidden Icons” button, also located on the taskbar.

It looks like the tip of an Up Arrow (also called a Caret). Right-click (or press and hold) the “Safely Remove Hardware” icon, which should now be visible.
Select the Kindle as the device to eject, and wait for a notice that it’s safe.
If there is no “Safely Remove Hardware“ icon in the “Show Hidden Icons” menu, continue to Step 3.
Step 3: Go Through “Taskbar Settings” to Eject Kindle
Normally, it doesn’t come to this, but if the “Safely Remove Hardware” icon doesn’t appear in the “Show Hidden Icons” menu, the next step is to try to access it via “Taskbar Settings.”
These are the necessary steps:
If the “Safely Remove Hardware” icon is missing from the “Show Hidden Icons” menu, right-click (or press and hold) the taskbar.
From the pop-up menu, choose “Taskbar Settings.”
In “Notifications Area”, choose “Select which icons appear on the taskbar.”
In the choices, locate “Windows Explorer: Safely Remove Hardware and Eject Media.” Toggle the switch to On.
If this doesn’t work, continue to Step 4.
Step 4: Eject Kindle Via “File Explorer” (or “My Computer”)
There is yet another way to eject the Kindle from a computer.
Follow these steps to try this simple method.
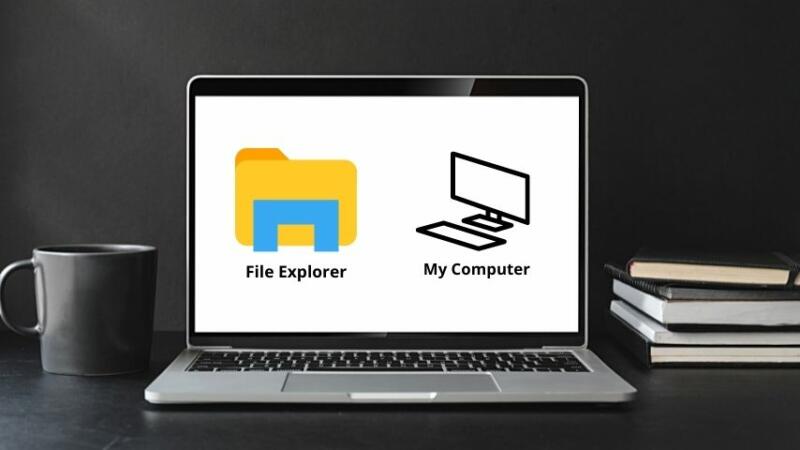
In the taskbar, click on “File Explorer.” An alternative is to double-click on “My Computer” from the desktop.

Right-click on the drive that’s housing the Kindle. This will trigger a pop-up menu.
Click “Eject” from the pop-up menu to get confirmation that it’s safe to eject the Kindle.
If this method still doesn’t work, continue to Step 5.
Step 5: Eject Kindle Via “Devices”
Don’t give in yet. I still have a trick or two up my sleeve. Try this.
If steps 1-4 have yielded no success, it’s time to check and ensure that the Kindle is no longer active (e.g., syncing or copying files).
Choose “Start > Settings > Devices.” Choose the Kindle device, and choose “Remove device.”

If this doesn’t work, continue to Step 6.
Step 6: Ensure the Computer’s Device Drivers Are Current
If it is still not possible to safely eject the Kindle, it’s time to check and see if the device drivers are up-to-date.
Check the hardware manufacturer’s website to make sure the current drivers are the correct ones.
If not, here’s what to do.
Type in the search bar “Device Manager.” Find and double-click the pertinent device’s name.
In “Properties,” under “Driver,” select “Uninstall”. Restart the computer.
Note: Instead of restarting it, it may be a good idea to “Shut down” the computer since this will enable the safe ejection of the Kindle.

It can, then, simply be powered on once the Kindle is ejected.
Step 7 should also be executed if Step 6 was necessary.
Step 7: Update the Computer’s Operating System
If it is necessary to carry out Step 6, I would recommend taking the time to go ahead and ensure an update isn’t needed.
This can be done quickly and easily from your desktop. Here’s how.
To check the operating system for available updates, click on the (Windows Start) button.
Click on “Settings”. It looks like a cogwheel or gearwheel.
Then, choose “Update & Security” > “Windows Update.”
Frequently Asked Questions About How to Eject Kindle from Computer
How do you eject Kindle from a Computer in Windows 11?
In Step 3 above, in Taskbar settings, choose and expand Taskbar corner overflow. Scroll to and turn on Windows Explorer, hovering over it to show Safely Remove Hardware and Eject Media. If unsuccessful, execute Step 4: Choose Windows Start > Settings > Bluetooth & devices > Devices. Next to the Kindle device icon, choose More > Remove device.
How to eject Kindle From a Computer in other Windows operating systems?
To eject the Kindle from a computer in Vista or Windows 7, click Start > Computer. Right-click on the icon showing the drive housing the Kindle. Choose Eject from the pop-up menu. In Windows XP, right-click on “Safely Remove Hardware” on the taskbar. Choose the icon representing the Kindle.
How do you eject Kindle from a computer in Mac OS?
To eject the Kindle from a computer running a Mac operating system, just press the Eject button. It’s located on the far right at the very top of the Mac keyboard. It will bring up a pop-up menu. Click Eject.

